Introduction

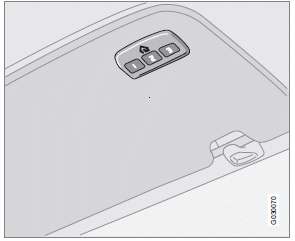
The HomeLink1 Wireless Control System provides a convenient way to replace up to three hand-held radio-frequency (RF) transmitters used to activate devices such as gate operators, garage door openers, entry door locks, security systems, even home lighting. Additional HomeLink information can be found on the Internet at www.homelink.com.
WARNING
• If you use HomeLink to open a garage
door or gate, be sure no one is near the
gate or door while it is in motion.
• When programming a garage door
opener, it is advised to park outside of
the garage.
• Do not use HomeLink with any garage
door opener that lacks safety stop and
reverse features as required by U.S.
federal safety standards (this includes
any garage door opener model manufactured
before April 1, 1982). A garage
door that cannot detect an object - signaling
the door to stop and reverse -
does not meet current U.S. federal
safety standards. For more information,
contact HomeLink at:
www.homelink.com.
Retain the original transmitter of the RF device you are programming for use in other vehicles as well as for future HomeLink programming. It is also suggested that upon the sale of the vehicle, the programmed HomeLink buttons be erased for security purposes. Refer to “Erasing HomeLink Buttons”.
See also:
Deposit control gasoline (detergent additives)
Volvo recommends the use of detergent gasoline to control engine deposits. Detergent
gasoline is effective in keeping injectors and intake valves clean. Consistent use
of deposit control gasolines ...
The front airbag system
The front airbags supplement the three-point seat belts. For these airbags to
provide the protection intended, seat belts must be worn at all times.
The front airbag system includes gas generator ...
Introduction
The Driver Alert System is designed to help a driver who may be becoming fatigued
or who is inadvertently leaving the lane.
The Driver Alert System consists of two different functions that can be s ...